Fun with Path Tracing
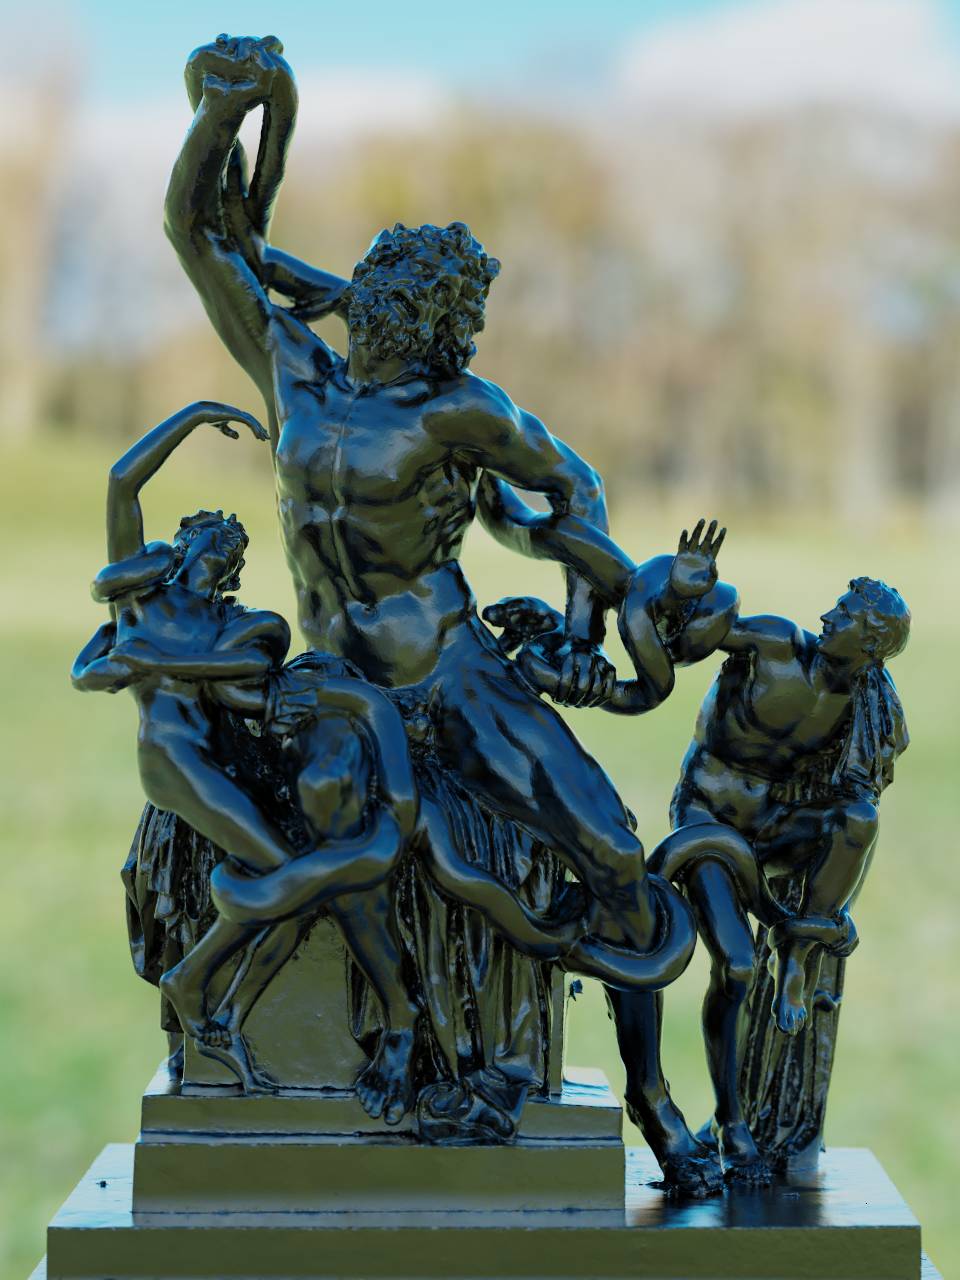
Path tracing is a ray tracing based rendering method for 3D scenes that is frequently used for non-real-time applications due to it’s ability to accuratly simulate how light interacts with various materials. It is the technique used at companies like Disney, Pixar and Marvel to create their CGI.
The algorithm works by simulating a large number of rays from the viewpoint of the camera into the scene, scattering them at various surfaces according to mathematical models dependant on the material and thus estimating the light per pixel.
This can be described using the following equations. First, the rendering equation:
Where:
- is the point on the surface
- is the surface normal
- is the direction of outgoing ligh
- is direction of incoming light
- is the cosine weakening factor
- is the total outgoing light
- is the total emitted light
- is the total incoming light
- is the bidirectional reflectance distribution function
In plain english, this means that the light that hits the camera is the light that is emitted at surface point X plus the sum of all the incoming lights to this point over a hemisphere centered on the surface normal. This incoming light gets weaker as the angle of incidence (cos(theta)) gets lower.
This can also be approximated using a monte carlo algorithm:
Where:
- is the number of samples over the hemisphere
- is the probability distribution function
In code, a naive path tracer without direct light sampling would look something like this:
void Renderer::render(int samples, int max_depth)
{
  #pragma omp parallel for schedule(dynamic, 1)
  for (int y = 0; y < m_camera->height(); y++) {
    for (int x = 0; x < m_camera->width(); x++) {

      glm::dvec3 result(0.0);

      for (int s = 0; s < samples; s++) {
        Ray ray = m_camera->get_ray(x, y);
        result += trace_ray(ray, 0, max_depth);
      }

      m_buffer[y * m_camera->width() + x] = result / double(samples);
    }
  }
}

glm::dvec3 Renderer::trace_ray(const Ray& ray, int depth, int max_depth)
{
  if (max_depth <= depth) {
    return glm::vec3(0);
  }

  std::optional<Intersection> intersection = m_scene->find_intersection(ray);

  if (!intersection) {
    return m_scene->sample_background(ray);
  }

  Intersection surface = intersection.value();
  Material* material = surface.material;

  glm::mat3 local2world = local_to_world(surface.normal);
  glm::mat3 world2local = glm::inverse(local2world);

  BxDF brdf(&surface);

  glm::dvec3 wo = world2local * (-ray.direction);
  glm::dvec3 wi = brdf.sample(wo);

  Ray scattered(surface.point, local2world * wi);

  return material->emission + trace_ray(scattered, depth + 1, max_depth) * brdf.eval(wo, wi);
}
I enjoy writing path tracers because I find it extremely satisfying to be able to create complex effects and scenes purely using code and math. This path tracer is written in C++ and uses only the CPU for rendering (so no GPU acceleration). It supports wavefront obj loading and a number of other features, including:
- sphere and triangle primitives
- mesh rendering
- bounding volume hierarchies for faster intersection testing
- textures
- environment textures (equirectangular)
- diffuse, dielectric and (basic) specular materials
- depth of field
- direct light sampling
- microfacet materials
Planned features:
- volumetric path tracing
The source code can be found on github.
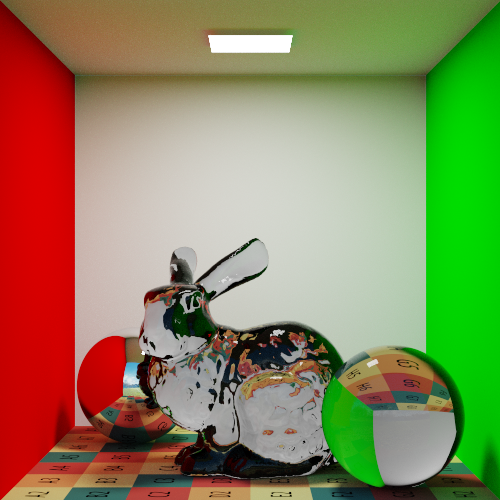
If the light in a scene is small, most of the rays sent from the camera will miss it, leading to a very dark image. This issue can be remmedied by explicitly sampling a random light at every bounce. Here is a comparision of using naive path tracing and direct light sampling, using the same number of samples per pixel. The scene used in these images is called the ‘Cornell Box’, a popular test scene frequently used in computer graphics. It consists of a white box with a single light and red and green walls.
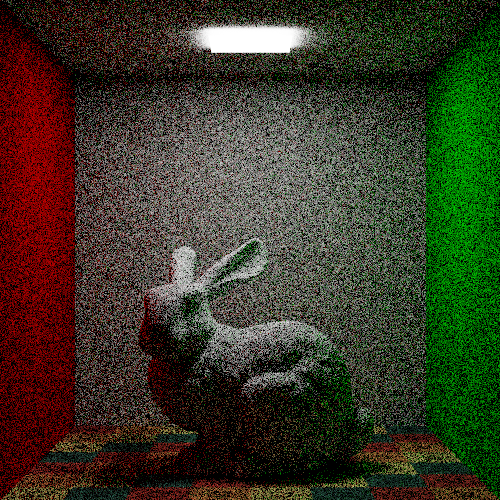
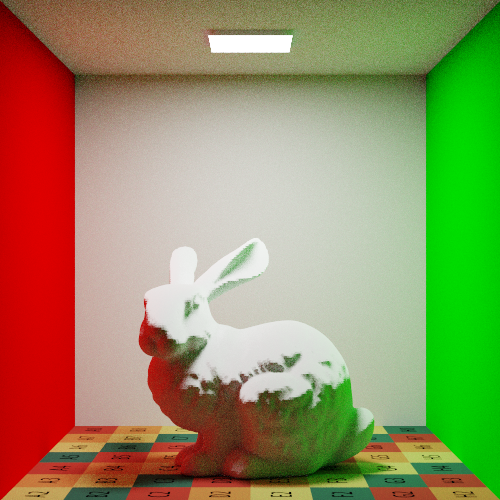
Both of these images were rendered with 128 samples per pixel, and as you can see, direct light sampling is very effective in reducing visual noise.
In reality, in most cases light does not only come from light sources like lamps, but also from the environment. This can be simulated by using equirectangular environment textures. The texture used in this image was taken by me in the Prater in Vienna.
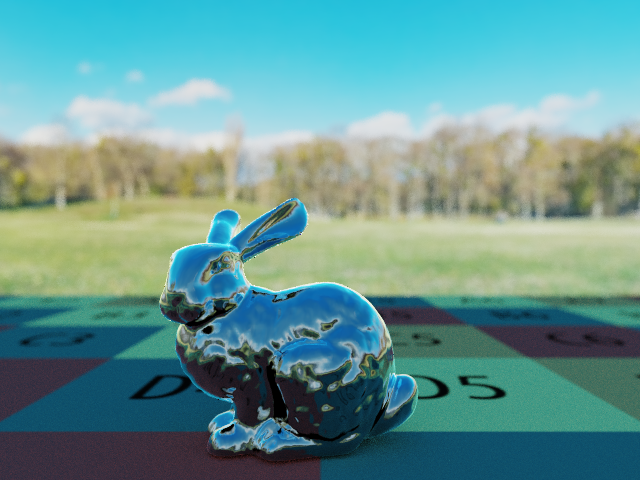
Here are some more showcases of what the renderer can do:
A glass bunny in the cornell box.
The BMW M3 E30, note the dark but transparent windows. This image also shows the depth-of-field effect - the front of the car is in focus and the back is blurred and out of focus.

